How do I create an invoice?
You can bill your clients by sending them invoices. Invoices in Harpoon are very flexible and allow you to bill for hours worked, fixed fees, retainer deposits, services performed, expenses incurred, products sold, or any other number of items you can dream up.
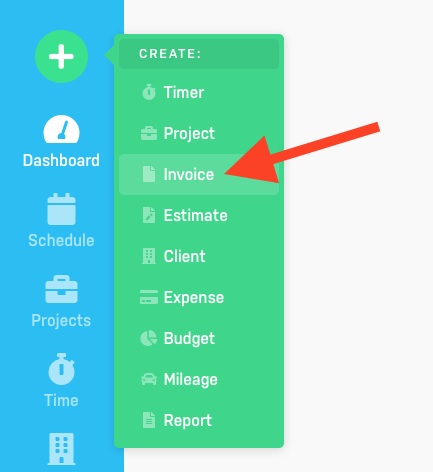
Creating an invoice is easy. Click on the green Create (+) menu in the top left of your screen and select Invoice:
You’ll now be presented with the New Invoice screen:
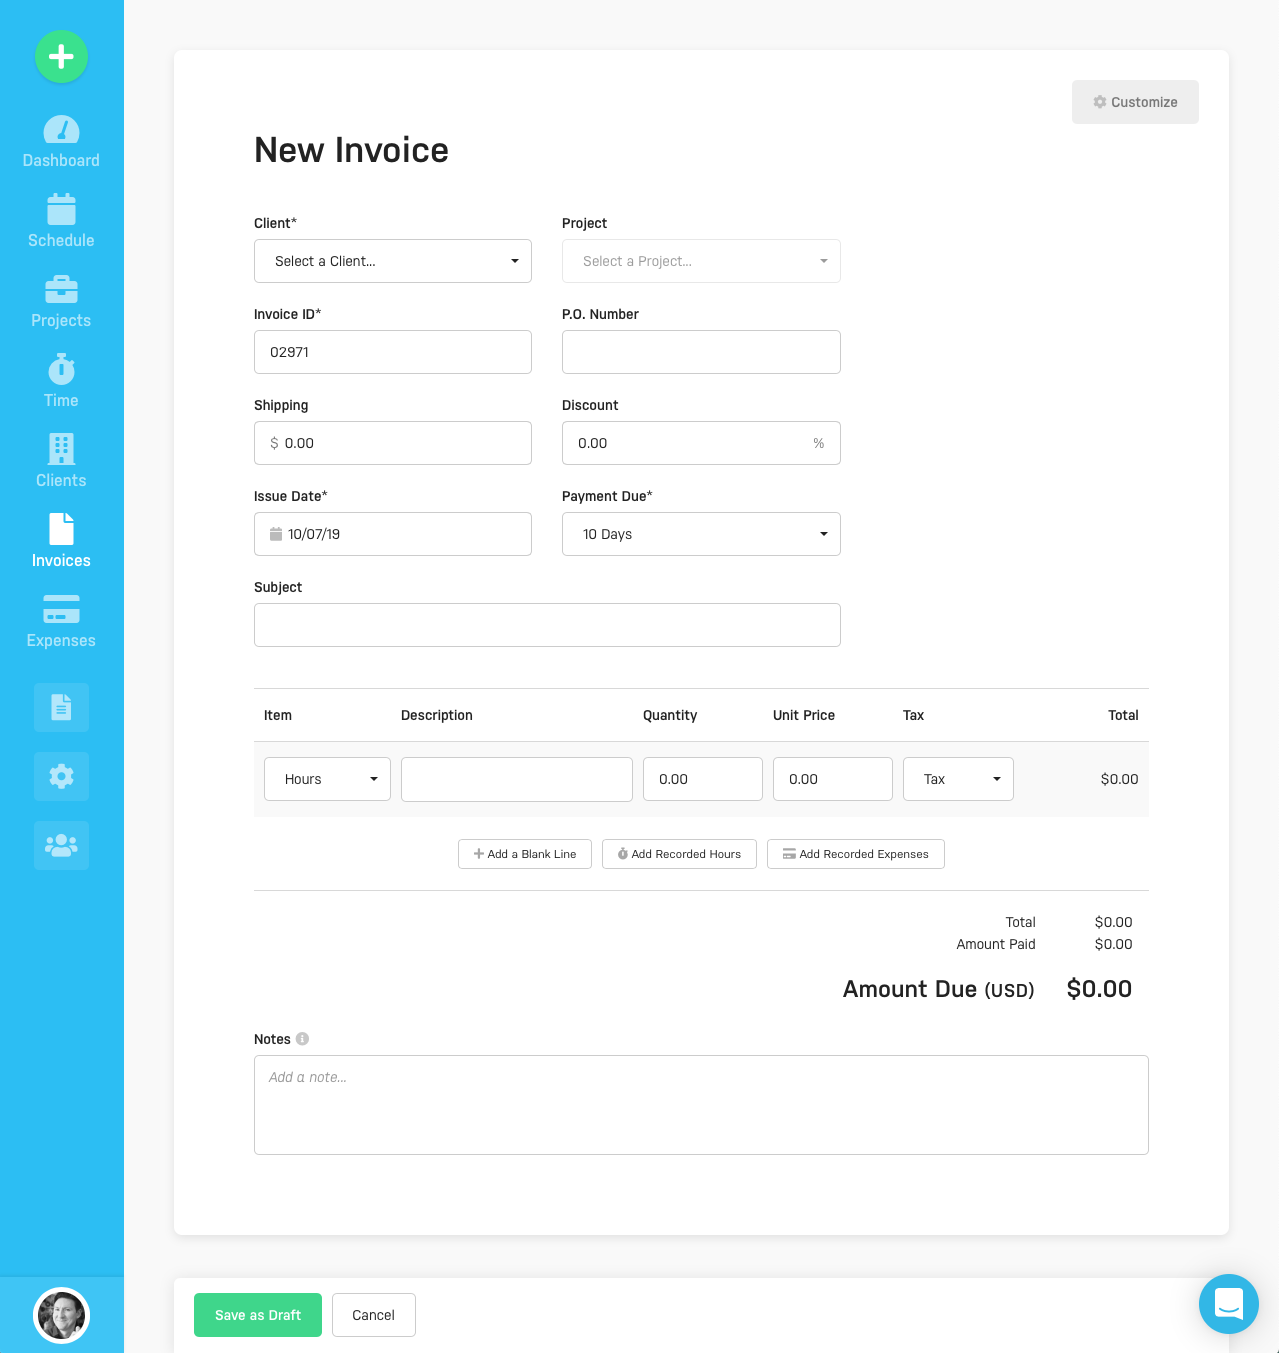
Start by filling out the form fields at the top of the New Invoice screen as follows:
- Client: Select a client for your invoice. You can also choose to create a new client on the fly by selecting Create New Client in the drop down menu.
- Project: If this invoice is associated with a project select that project here. You can also choose to create a new project on the fly by selecting Create New Project in the drop down menu. All payments received via this invoice will be recorded as revenue for the selected project.
- Invoice ID: This is a unique ID that can only be used once in your account. Harpoon will automatically increase the Invoice ID value by one for each subsequent invoice. For example, if you enter 00025 for your first invoice, Harpoon will automatically pre-fill 00026 as the ID for your second invoice. More information about Invoice IDs can be found here.
- P.O. Number: If you need to associate the invoice with a purchase order number you can enter that here.
- Shipping: If there's a shipping cost associated with the invoice it can be included here.
- Discount: If you’d like to give your client a discount you can type in a percentage value here. The discount will be applied to the pre-tax subtotal of the invoice.
- Issue Date: This is pre-filled with the current date, but can be set to any date in the past or future as needed.
- Payment Due: Here you can determine the number of days past the Issue Date the invoice is due. Optionally you can also manually set a custom due date.
- Subject: This is displayed to your client on the invoice and comes in handy when you want to summarize the contents of an invoice for your client.
You can also customize/overwrite some of the invoice's default settings by clicking the "Customize" button in the upper right of the screen:
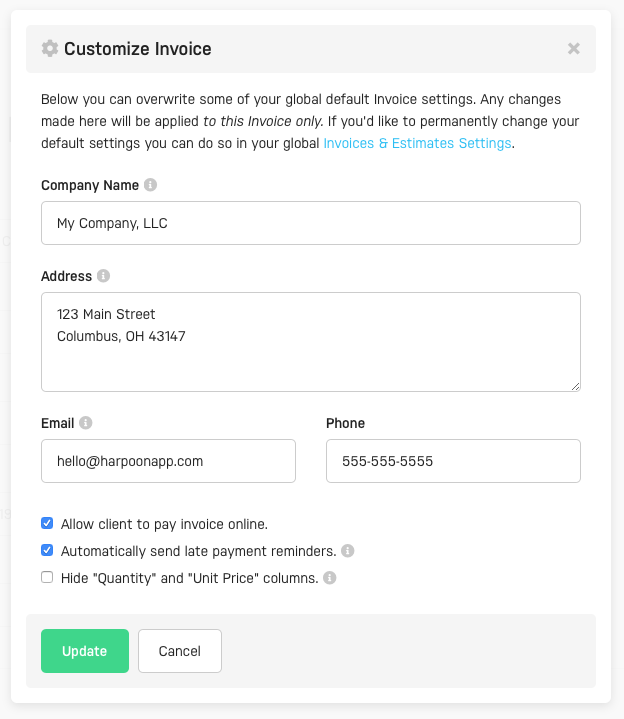
Any edits to these Customize Invoice fields will be applied to this invoice only. If you'd like permanently change your default invoice settings you can do so in your global Invoices & Estimates Settings.
You're now ready to create line items for the invoice:

- Item: Select an item type (e.g. Service, Hours, Expense, Deposit, etc.) for the line item.
- Description: Provide a description for the line item. This will help your client understand exactly what they're being billed for.
- Quantity: How many of these items is your client being billed for?
- Unit Price: What is the price of each line item unit?
- Tax: If applicable, select one or more taxes to apply to the line item. Your available taxes can be set up via your Tax Settings screen.
- Line Item Total: The total amount of the line item.
Note: The Quantity and Unit Price columns can be hidden from your client via the Customize Invoice form. This comes in handy when the line item(s) on an invoice are fixed fee costs, not unit costs.
- Add a Blank Line: This adds a new, blank line item to the invoice.
- Add Recorded Hours: If the selected project is an Hourly project clicking this button will allow you to select and add any unbilled, recorded hours to the invoice. Note: After recorded hours have been added to an invoice Harpoon will automatically update the status of those hours from "Unbilled" to "Billed."
- Add Recorded Expenses: Clicking this button will allow you to select and add any expenses that have been recorded for the selected project. Note: After recorded expenses have been added to an invoice Harpoon will automatically update the status of those expenses from "Unbilled" to "Billed."
- Notes: What you write in the Notes field will be visible to your client on the invoice.
When the invoice is ready click the Save as Draft button and you’ll be presented with the Invoice Details screen. Here you can take a variety of actions on the invoice, such as sending it to your client or adding a payment.

Tip: You can customize the design of your invoices (i.e. logo, branding color, etc.) via your Invoices & Estimates Settings screen.
To learn more about invoices view the Invoice support articles.