How do I connect Harpoon to my bank account?
You have multiple options when it comes to tracking your business's expense transactions in Harpoon, including adding transactions manually, setting up automatic recurring expenses, importing CSV files from your bank, or connecting your Harpoon account directly to your bank for ongoing, automatic importing.
If you prefer the direct bank connection approach, here’s how it works:
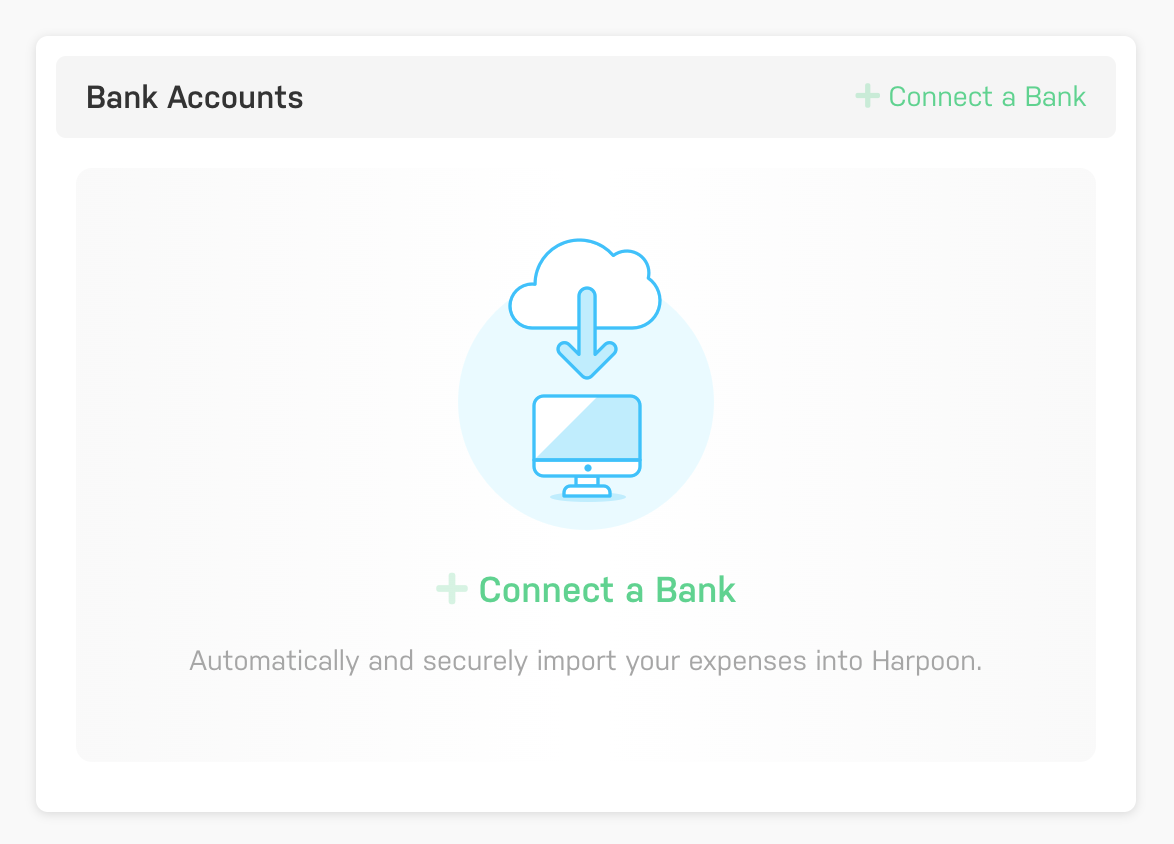
Hop on over to your Expense Settings screen and click the “Connect a Bank” action within the Bank Accounts section.

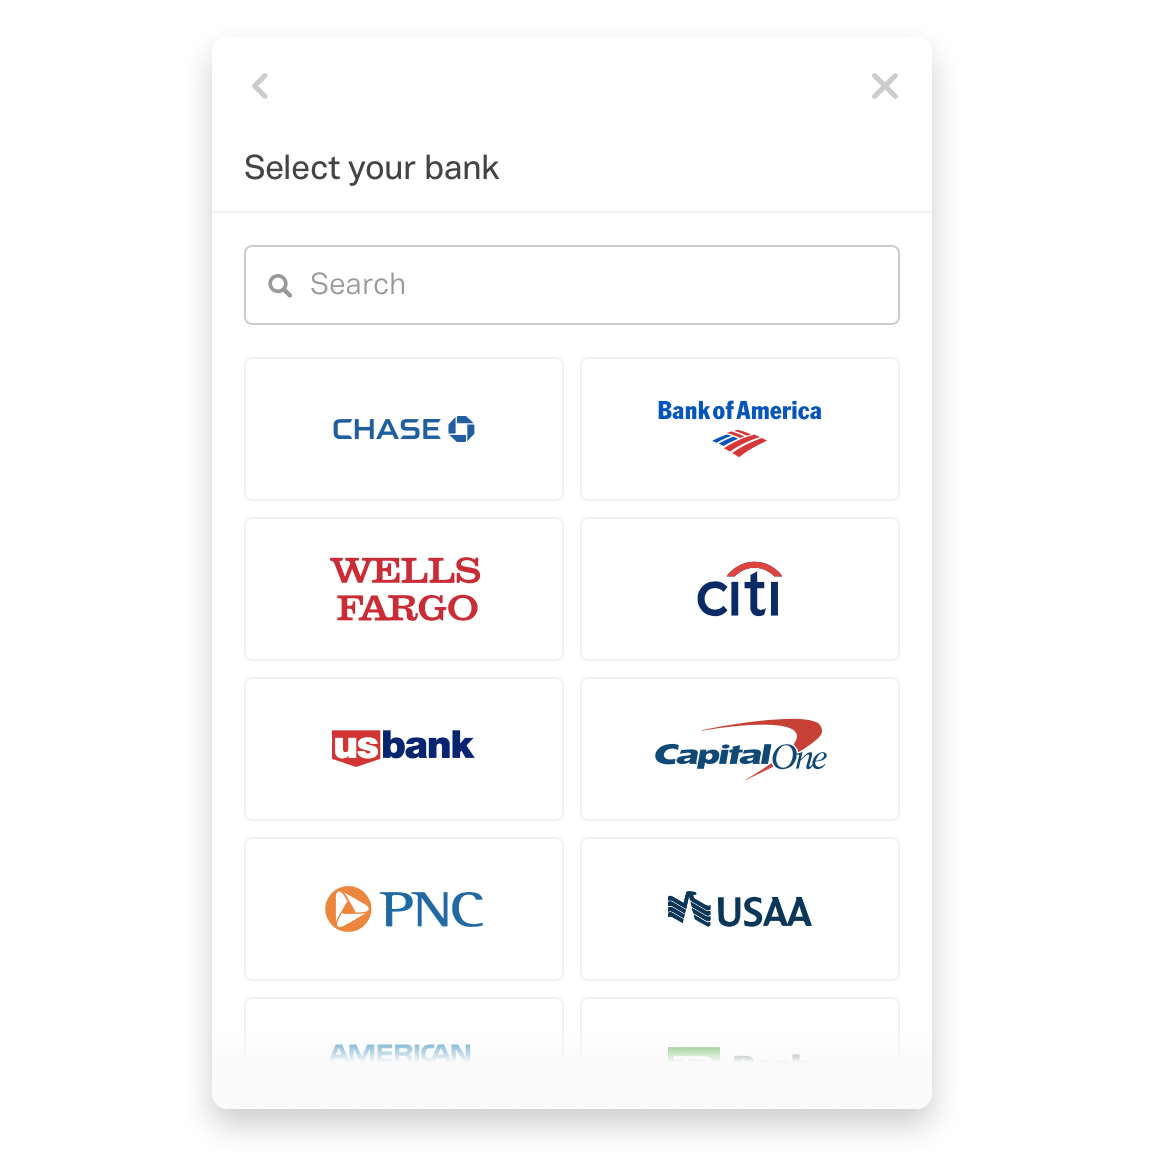
This triggers an interface that will walk you through securely connecting your bank account(s) to Harpoon. You’ll need your bank’s login credentials to make it happen.

After connecting with your bank Harpoon will automatically import the last 30 days of expense transactions from your bank account (or as many as your bank will allow). You’ll find those transactions on your main Expenses screen in Harpoon.
And you’ll continue to see any new transactions automatically appear in Harpoon on a daily basis.
At this point it’s up to you regarding how much additional detail you’d like to add to each imported expense transaction within your Harpoon account.
For example, you’ll probably want to make sure the appropriate expense category is assigned to each transaction. And maybe even clean up the vendor names of your transactions.
This can be a bit of busy work, but fret not. We’ve implemented a machine learning system in Harpoon that does its best to “remember” the edits you make to your transactions, and automatically applies the same edits the next time the same transaction gets imported.
For example, maybe you have an imported transaction from your bank that looks like this:
Vendor Name: STAPLES**3459123
Category: ?
And you manually edit the transaction to be:
Vendor Name: Staples
Category: Office Supplies
The next time Harpoon imports an expense transaction for Staples it will automatically apply those same edits to the transaction, saving you a bunch time...over time.
