
How do I import expenses from my bank account?
Not sure which one you're using? The new interface has a dark sidebar and /app/ in the web address; the classic interface has a bright blue sidebar. You can switch at any time: in the new interface, click your name (top right) and choose Switch back to classic; in the classic interface, hover your avatar (bottom left) and choose Try the new Harpoon.
In addition to recording your business expenses manually, or using automated recurring expenses, you can import your expenses from your bank account. This can help save you time and increase accuracy. Here’s how it works.
On your main Expenses screen you’ll find an Import button in the upper right of the screen.
Note: For instructions on how to connect and sync your bank account directly with Harpoon refer to this article.
Clicking Import opens the Import Expenses window, where you can upload a CSV file from your bank account or credit card. CSV is one of the most common and simple file formats available for download from most banks. You can typically download a CSV file of your monthly bank or credit card statements, or your bank might even let you select your own date range of transactions. If you’d like to see what Harpoon expects, click Download a sample file.
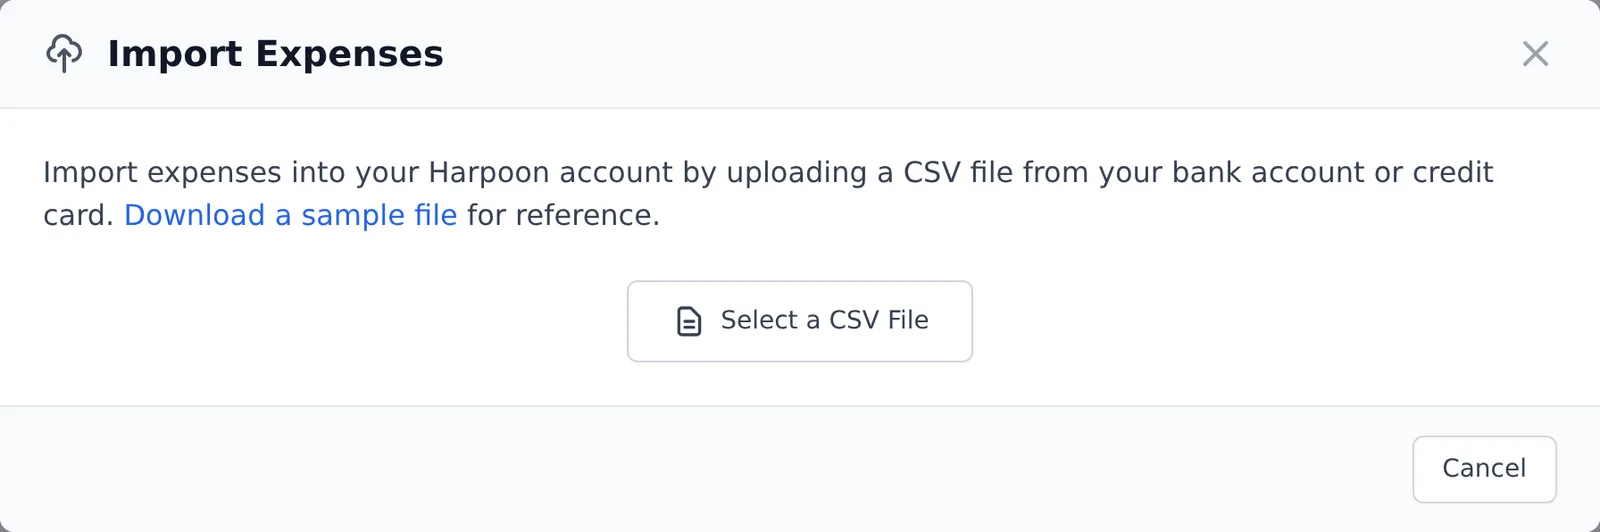
Click Select a CSV File and choose your file. Harpoon will then ask for some quick information about it:
- CSV Field Mapping: Match the columns in your file to the three fields Harpoon needs: Date, Vendor and Total. Harpoon tries to pick the right columns for you, so just check them.
- CSV Formatting: Choose the Date Format and Number Format your bank uses.
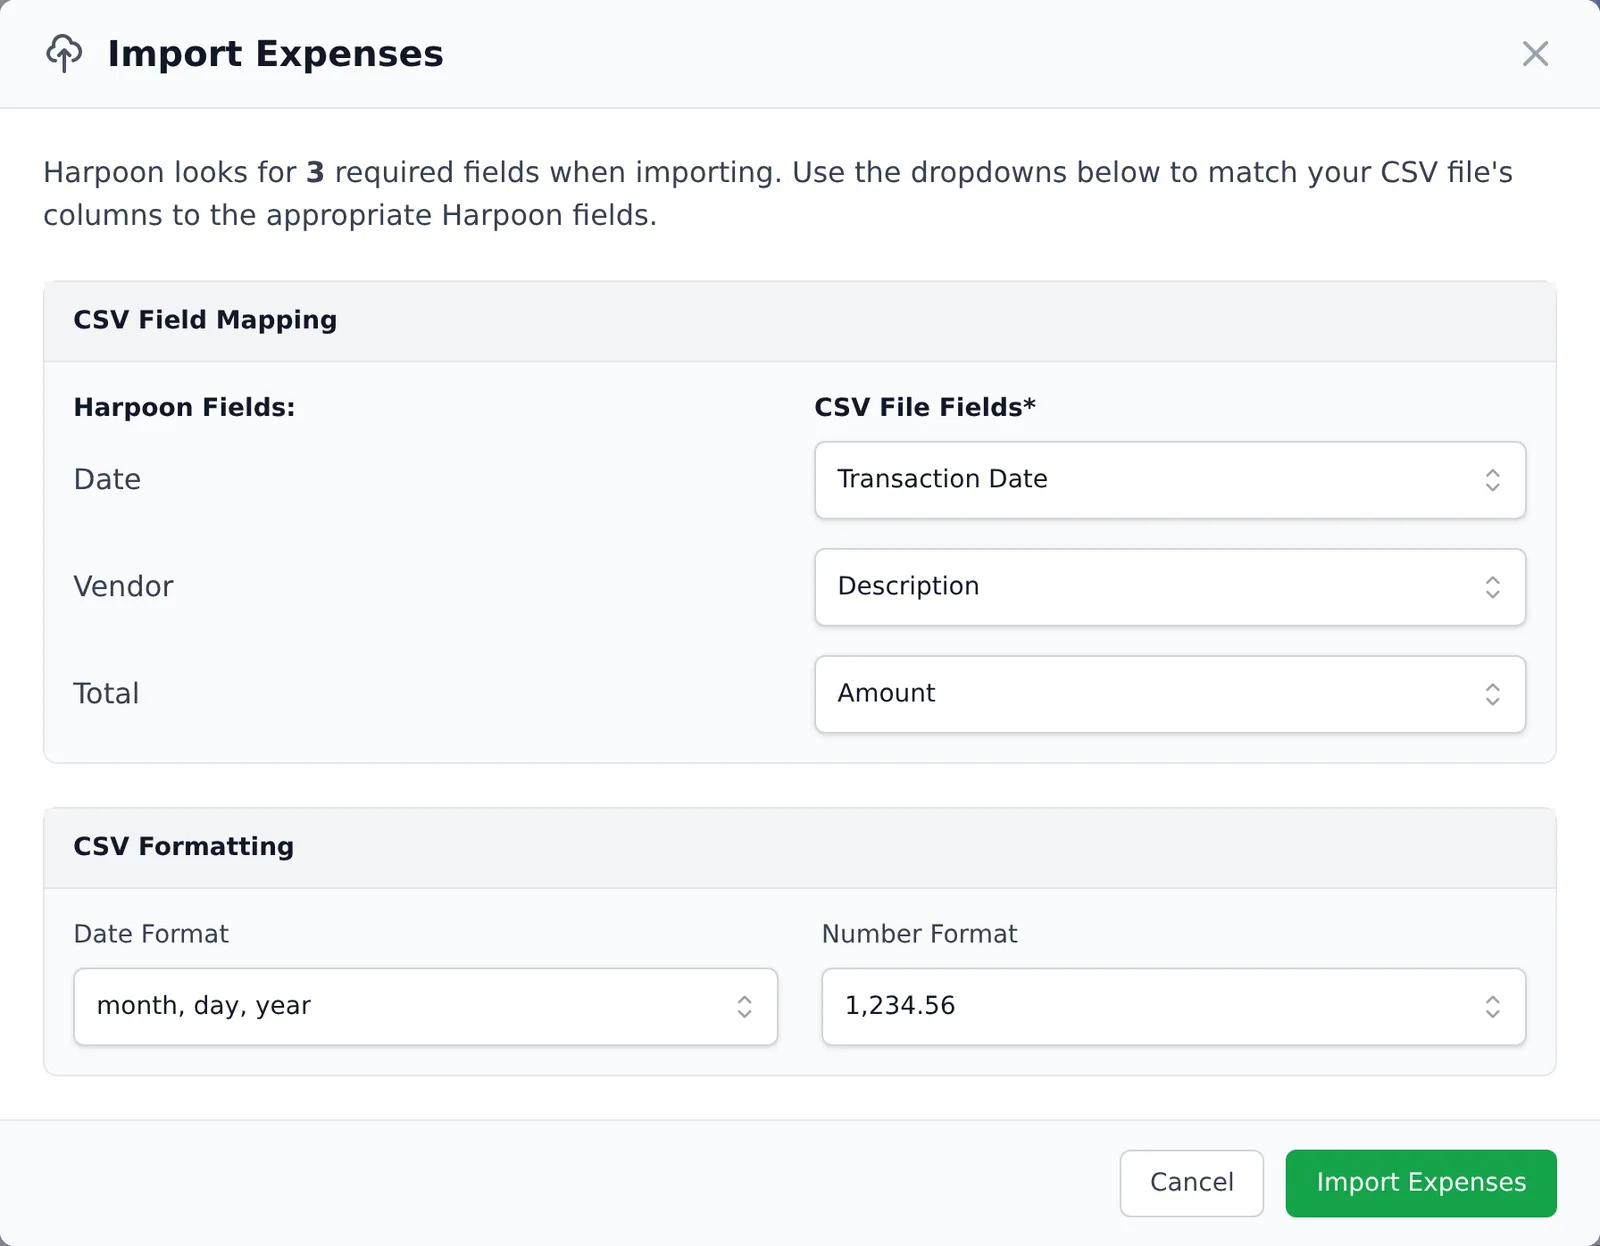
This information helps Harpoon translate your CSV file properly so that all of your expenses end up neat and tidy. All that’s left to do is click the Import Expenses button and your new expenses will be recorded in Harpoon.
At this point you can use the filters, search, and bulk actions on your Expenses screen to clean up the newly imported expenses. For example, your bank might have an “ugly” way of recording the names of your vendors and you might want to change those names to something friendlier. And of course you’ll want to assign expense categories to your newly imported expenses. To change several at once, check the boxes next to them and choose Bulk Actions → Edit Selected.
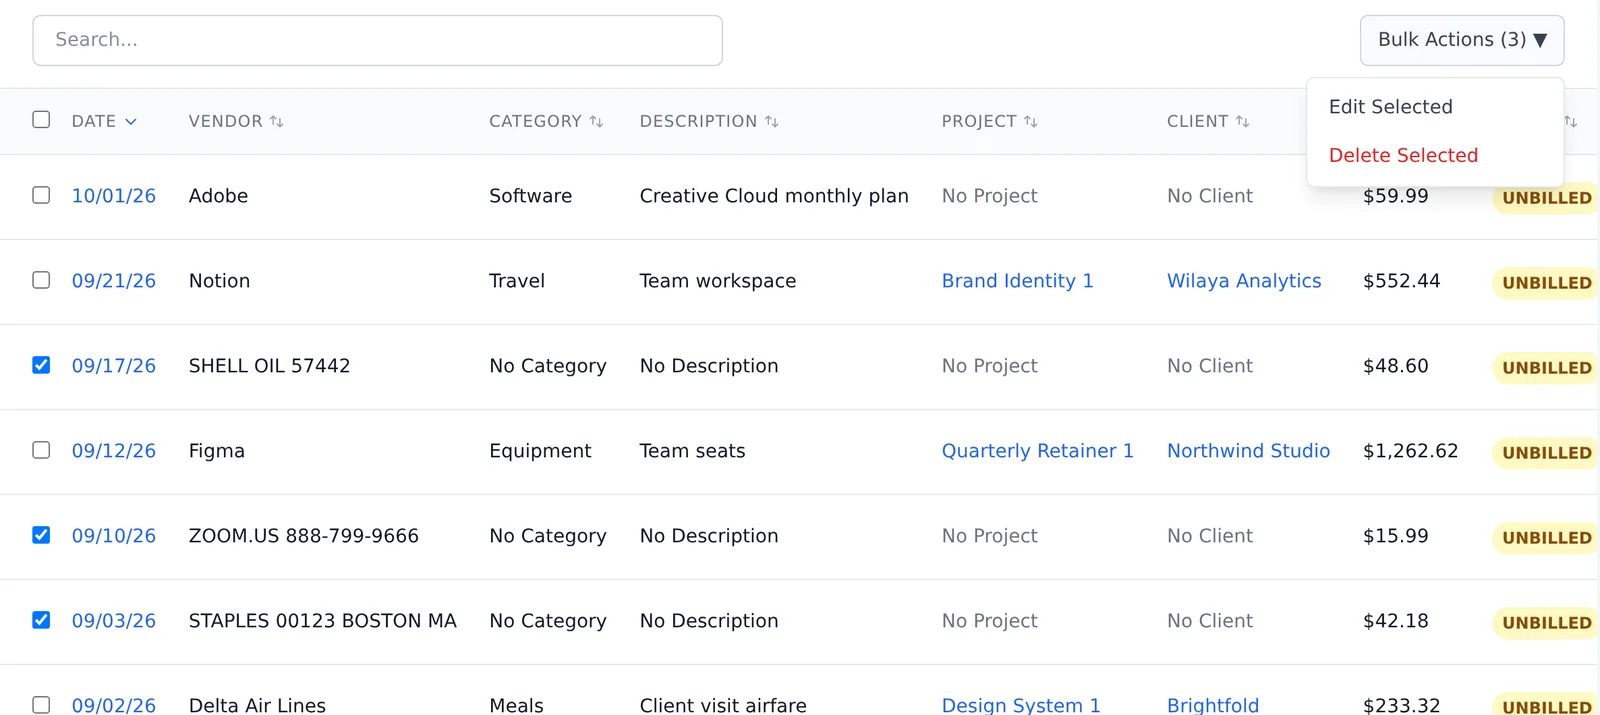
Harpoon also has an “invisible” feature that saves you even more time. It remembers the vendor name and category edits you make to your imported expenses, and automatically applies them the next time you import an expense with the same original vendor name. It’s a great “edit-once-and-forget-it” experience.
If you haven’t already, consider using a dedicated bank account or credit card for all of your business expenses. This keeps your personal spending separate from your business spending. Then once a month you can import a CSV file of your latest statement into Harpoon, handling a month’s worth of expense tracking in just a few minutes.
In addition to recording your business expenses manually, or using automated recurring expenses, you can choose to import your expenses from your bank account. This can help save you time and increase accuracy. Here’s how it works:
When viewing your main Expenses screen you’ll find an “Import” button in the upper right of the screen.
Note: For instructions on how to connect and sync your bank account with Harpoon refer to this article.
Clicking this button allows you to upload a CSV file from your bank account or credit card. CSV is one of the most common and simple file formats available for download from most banks. You can typically download a CSV file of your monthly bank account or credit card statements, or your bank might even let you select your own date range of transactions for the CSV file.

After you’ve selected your CSV file in Harpoon you’ll be asked for some quick information about the file.

This information helps Harpoon translate your CSV file properly so that all of your expenses end up neat and tidy once imported into your Harpoon account. All that’s left to do is click the Import button and your new expenses will be recorded in Harpoon.
At this point you can use a combination of filters, live search, and bulk actions on your Expenses screen to do any clean up to the newly imported expenses that you feel is necessary.
For example, your bank might have an “ugly” way of recording the names of your vendors and you might want to clean up those names to something more friendly. And of course you’ll want to assign expense categories to any newly imported expenses as well.
We’ve also included some “invisible” features that will save you even more time. Harpoon will remember any vendor or category edits you make to your imported expenses and automatically apply those changes the next time you import an expense with the same original vendor name. It’s a great “edit-once-and-forget-it” experience.
If you haven’t already you should have a dedicated bank account or credit card to handle all of your business expenses. This keeps your personal spending separate from your business spending. And then once a month you can import a CSV file of your latest bank account or credit card statement into Harpoon, handling a month’s worth of expense tracking in just a few minutes.